Mystery Tubes
Click here for instructions on how to build a mystery tube.
Mystery tubes are an educational puzzle that can be used to teach troubleshooting, model building, and the scientific method.
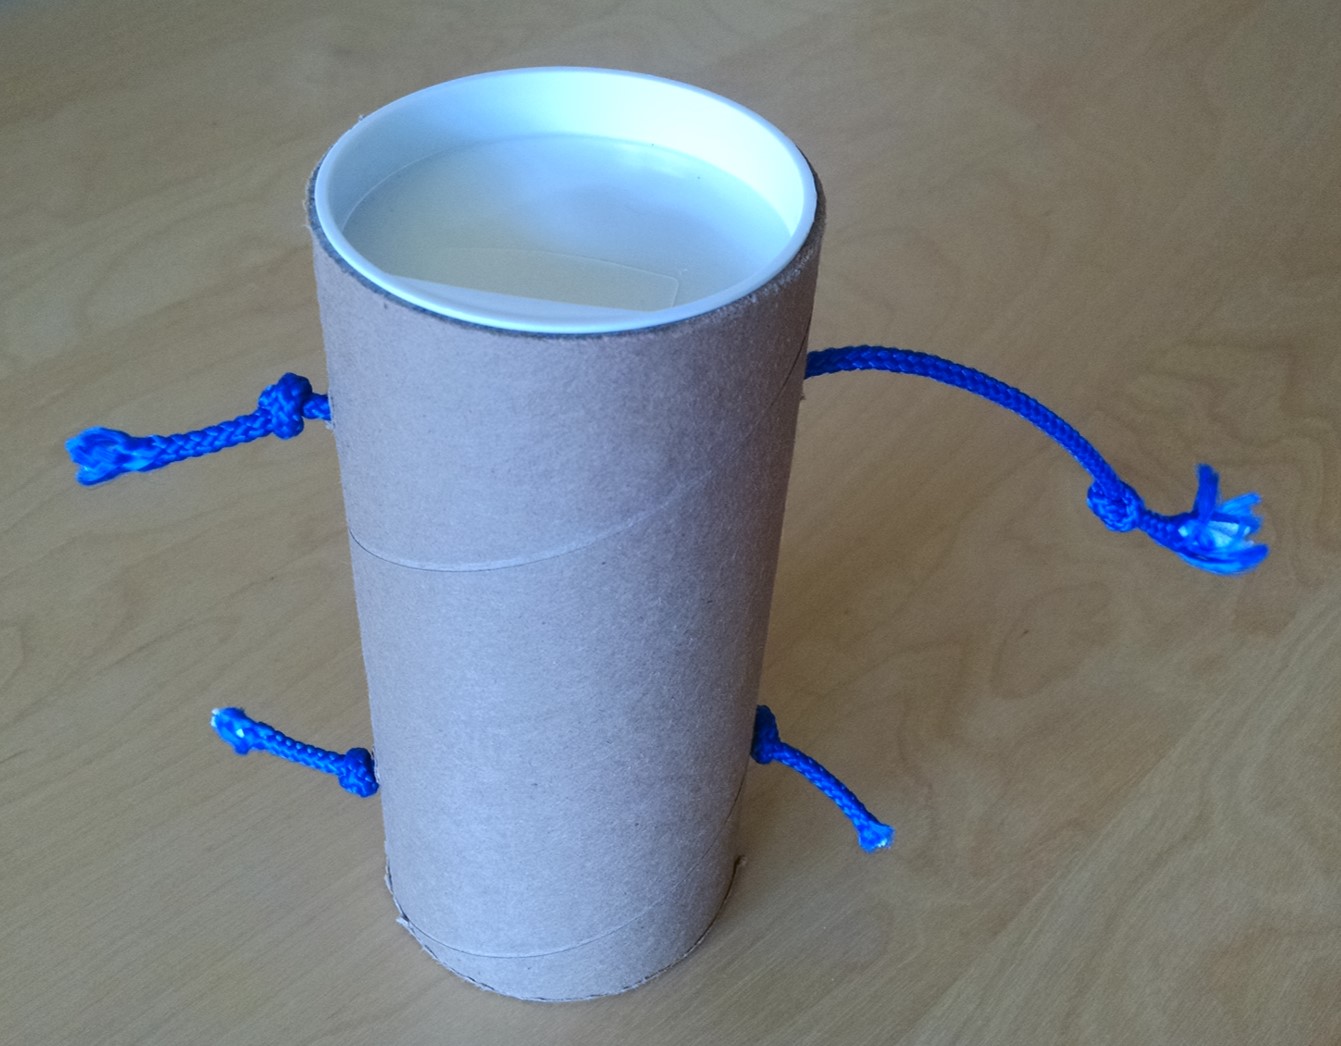
The mystery tube is a simple cardboard tube with four knotted lengths of cord, each protruding from its own small hole in the tube’s side. There are many ways an educator can spin this activity, but the typical goal is for students to come up with a theory or model for what is inside the tube.
To introduce the mystery tubes, I like to demonstrate them briefly. Before I begin, I make sure to configure the tube so that three of the cord lengths are retracted, and one length of cord is loose. I pull on the knot opposite the loose cord, which causes the loose cord to retract and gives the appearance that I am pulling on a single cord threaded through both holes. I draw these two knots back and forth a few times, to solidify this reasonable expectation.
Then I pull on one of the knots at the other end of the tube, which also causes the loose cord to retract! For the audience, this typically generates a sense of cognitive dissonance that ignites a desire to explore. I immediately hand the tube over to let the observer can start investigating.
Mystery Tubes in Action
I first saw mystery tubes in a middle school science class, and the experience was so compelling that I remembered them fifteen years later and decided to use them in my Brain Hacks class (a course on rational thinking for high schoolers).
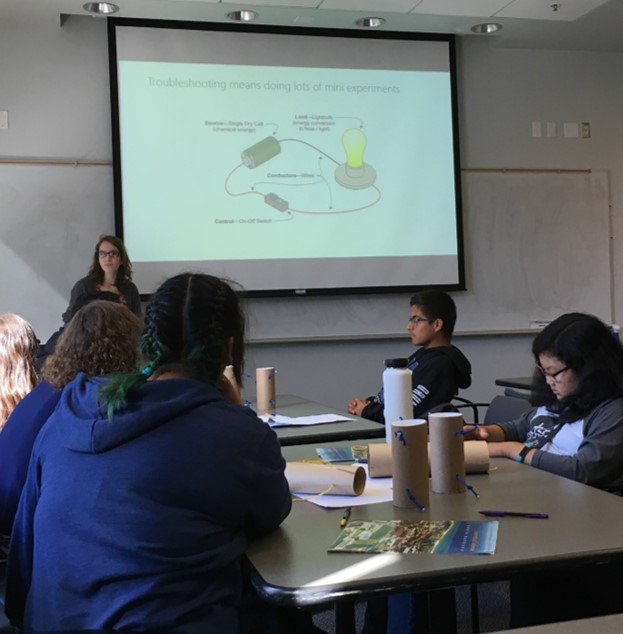
In Brain Hacks, I asked the class to divide themselves into groups of 4 or 5 students. I demonstrated the tube as described above, which produced a satisfying gasp from the class. I passed out two tubes to each group, and told them simply that their task was to come up with a theory for what is inside the tube, without opening it.
The students benefit most from playing with the tube themselves, so it’s best not to over-demonstrate. I also try not to lead their thinking with descriptions or hints. Before I demonstrate, I prefer to say only “I have something to show you.” Students frequently ask directly whether the theory they have come up with is correct. I always reply with “That’s an interesting theory, what ways can you think of to test it? What tests could disprove your theory?”
I let students interact with the tubes and discuss among themselves for about 30 minutes. I walked around the class, listening to theories but not directing or revealing, other than to suggest that the students try drawing their guesses or write down what tests they have performed to help them visualize and communicate their thoughts to their peers.
Once the students started to formulate their guesses, I gave them paper, string, tape, scissors, and another 30 minutes to build models of the tubes. I continued to observe and encourage without giving any direct instructions.
After the students had built their models and were satisfied, I allowed them to look inside the tubes. Some groups’ models matched the mystery tubes, and others’ didn’t. As a class, we debriefed by discussing several key points. I asked the groups to share the most useful testing techniques they had come up with, and to describe early models that they had conceived but discarded. I asked the students to list all of their senses and to think of creative ways that they could use each sense to gain information about the tube. I also shared with them some of the tricks that my own graduate student colleagues had used to investigate the tubes, like listening to the vibrations of the cords as they were pulled, and measuring the lengths of cord.
This discussion led me into a short lesson on the scientific method, using the connecting idea that scientists must use whatever techniques are available to gather information about a system. The scientific method is messy and iterative, and scientists fail many times before they develop an experiment that produces new information.
Tips for Success
It’s important to treat the mystery tubes as a puzzle that can be unraveled through logical deduction. In contrast with some puzzles which are solved with a clue or clever trick, the emphasis in solving the tubes should be on breaking down the problem into smaller questions that can be tested.
Although the students enjoy revealing the tubes at the end, I like to stress that it is more important to design logical tests and models than to exactly recreate the insides of the original tubes. I tell the students that in science, there is nobody who can reveal the “correct answer” of an experiment. Instead, experimenters must use all available information to confirm or disprove their theories. When I show the mystery tubes to colleagues, I tell them to open the tubes when they are satisfied that they have sufficiently tested their hypotheses.
I also encourage students to use all their of senses for troubleshooting because scientists have to be creative to squeeze out new information from experiments. Smelling or shaking the mystery tubes are perfectly valid testing techniques.
There are many ways this activity could be expanded and adapted. Students could pass their models to other groups and test whether they behave the same way as the original mystery tubes. Students could create two different models and compare the benefits of each. The instructor could ask students to write down as many observations as they can about the tubes, which I think would work particularly well for younger classes. As an extra challenge for older students, the instructor could create several different tube configurations and have the students come up with models for each.
Lessons Learned
I gave one of the groups in my class two tubes with different internal configurations. I picked a group with older students who were fairly boisterous and seemed comfortable in the class. I felt they might enjoy an extra challenge, and I expected them to realize that the tubes were different very quickly. I was hoping that once they made the discovery it would inspire the rest of the class to reevaluate their hypotheses and make their testing more rigorous. Unfortunately, the group did not realize that the two tubes were different!
When the tubes were revealed, the students with two different tubes were disappointed. They told me that they had been passing the tubes back and forth constantly, so just as they were confirming one theory they would pass the tube and become confused. After the class I explained to them the reasons why I had picked them, that I hadn’t meant for them to be left in the dark for so long. They were good sports, and I assured them that in the future I would give out a hint if it was needed.
If I were to repeat this class, I would still give the students 15 to 20 minutes of open exploration with the mystery tubes, but I would then ask them to brainstorm troubleshooting techniques and to record the results of their tests to help them develop more creative and rigorous experiments. I would invite them to justify their theories to their peers, and assess models from other groups.
The students had a lot of fun with the mystery tube lesson, and so did I. I will definitely use this activity in the future!